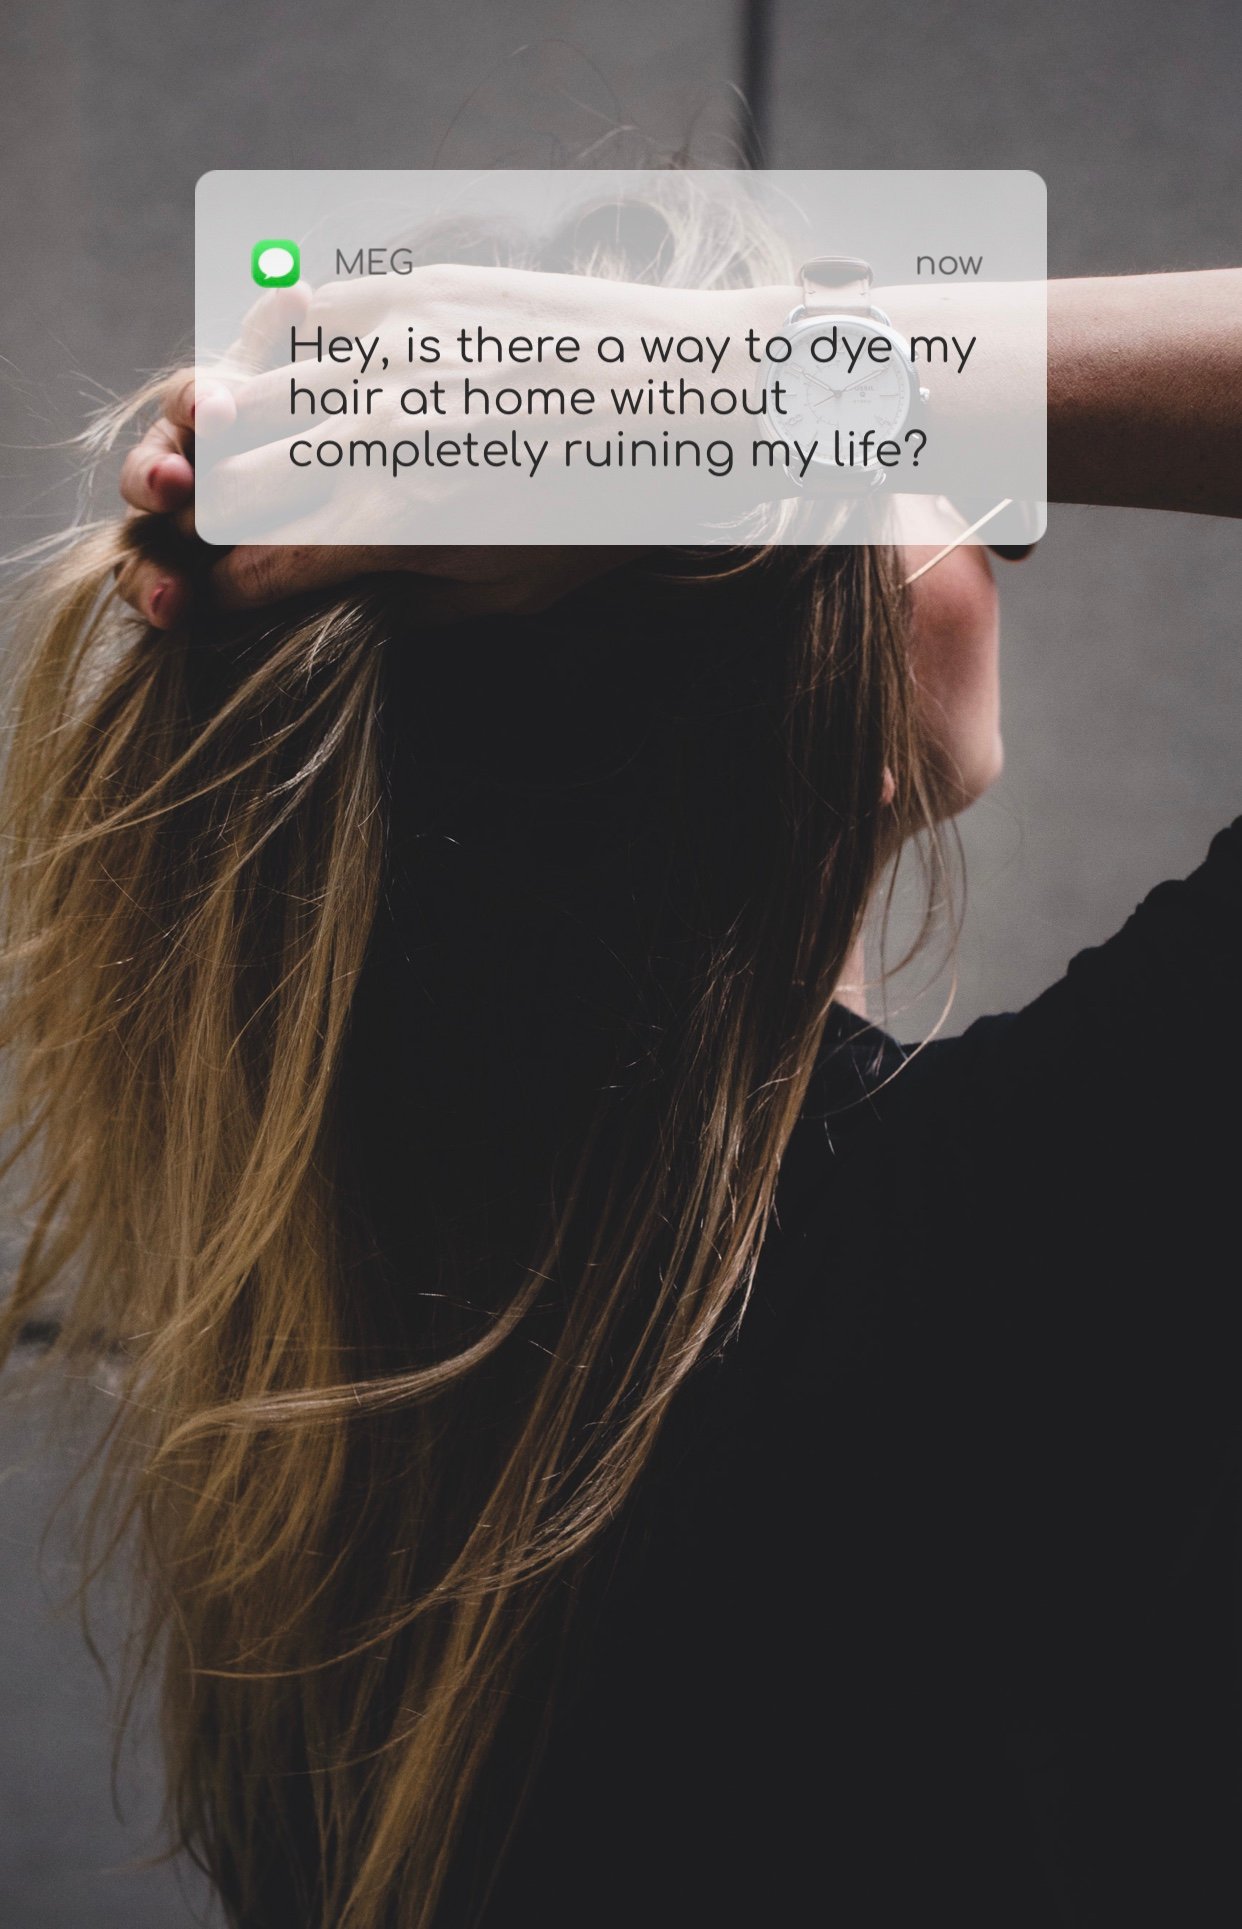
Lockdown saw us all adjust to a new normal of working from home, homeschooling and, for many of us, exploring the wonderful (or sometimes, not so wonderful) world of home waxing, facials and hair-colour.
But as we all quickly found out, what you see on the box of L’Oreal Excellence Creme isn’t always what you get.
So we’ve created a definitive list of rules to help you achieve your DIY hair colour goals.
Enjoy and, let’s be honest, good luck.
Thou Shalt Aim For Quality
Despite what the wide joyful smiles of every model on the box tells you, not every brand of DIY hair colour is the same.
I know that when standing in front of a wall of colour brands, each with their own distinct personality, it can be tempting to reach for the sultry-looking box of Feria, complete with its promises of shimmering multi-faceted colour. Who doesn’t want ‘three times the highlights’!?
And no diss to the makers of this brand — they have their quotas to fill — but the truth is highlights and shimmer are largely dependent on the quality and health of your own natural hair.
In light of this, your job in choosing colour is to be completely objective and reach for the highest quality (note: usually the most expensive) brand you can find.
In Australian supermarkets, it’s usually Garnier Olia (Ammonia Free, great for pregnant women) or L’Oreal Excellence.
Thou Shalt Only Aim For A Shade Below Or Above Your Current Colour
There are so few mysteries left in life, the results on your DIY hair colour is one of them.
While it might seem fun to give yourself a Kim Kardashian-Draco Malfoy makeover. The truth is these kinds of major changes are all done in-salon (and more often than note, the result of a wig).
For this reason, you want to try to keep your expectations and surprises to a minimum. Here’s a strategic little tip to keep you out of trouble: Grab a strand of your hair and find the closest matching colour on the shelf. Then your hair colour territory is either side of that.
I don’t make the rules, I am just here to bequeath them.
If you want a drastic change, don’t despair, once you complete this colour you can explore working your way up or darker down the scale but that takes time and is definitely for intermediate players so let’s get the basics down first.
Thou Shalt Wash Hair A Few Days Before
Hair that’s not dirty but that’s had a couple of days of ‘life’ is usually the perfect condition for a colour. Ultra-clean hair can sometimes be too ‘slippery’ for the colour to cling to and your natural oils will help protect your scalp from irritation from the chemicals.
Thou Shalt Prep Your Skin For Dye
Speaking of skin, something people rarely talk about streaks.
These are the telltale signs of dye left along the hairline. They’re easy to avoid though with the use of a clear lip balm, drawn artfully along the outer rims of your forehead and close to your ears. You’ll feel slightly ridiculous but the miniature size and pencil-esque shape will help you be precise.
Be VERY careful not to apply any to your roots of the hair you want to colour as this may impact on results.
Thou Shalt Never Mix Shades
Let’s start with a firm NO on this. I know it’s tempting but mixing chemicals and colour shades are literally what hair colourists spend years as apprentices learning. This is our superpower and it’s an extremely fine science.
Also, the companies that create these hair colours have spent millions on research in order to ensure results turn out even remotely close to how things look on the box — which is never a guarantee anyway.
I’m usually not one to tell people to play by the rules but when it comes to this, I’m coming down hard.
Thou Shalt Start With Dry Hair
Colour clings to dry hair like cat fur on your favourite black dress. Which is what you want. Wet hair can dilute the chemicals and is the fastest way to ending up with a sub-par result.
Thou Shalt Do The Roots First, Then The Ends
Now, here’s where we get to the fun part. Application.
Remember this rule: The least damaged part of the hair takes the longest to colour and usually the least damaged part is your regrowth.
Yes, those freshies straight out of your scalp will usually need 10 minutes longer than the rest of your strands so give them lots of love first.
Also, most home hair dye kits come with an ‘applicator’. You don’t need to worry about that. Sometimes I feel like that inclusion is just a conspiracy by colour companies to lead people astray and get them to buy more colour when they’re unhappy with the result *removes tin-foil hat*.
Squeezing colour straight onto your hair just makes things look unbalanced. Instead, buy a bowl and a brush (like the ones you see professionals use) and ‘paint’ on the dye as evenly as you can.
Thou Shalt Set A Strict Timer
Once you’ve applied the final bit of hair colour to the rest of your strands, quickly set the timer on your smartphone according to instructions on the dye box (usually around 20 minutes). Throw on a shower cap and a dressing gown and go watch an episode of Community (also around 20 minutes).
As soon as your timer goes on, run to the shower. Don’t dilly dally. Any extra time can impact on your results.
How exciting!
Thou Shalt Hydrate (& Then Do It Again & Again & Again)
Most brands of quality hair colour come with a strong post colour treatment included. I advise not using the whole treatment at once because great hair colour is about long-term hair care. You’re going to want to make that stuff last.
After shampooing the excess colour of your hair, turn off the water, squeeze-dry your strands and then apply the treatment. Water dilutes the moisture you want to apply to the hair but the warmth of the shower has opened the strands, so this is an important step.
Leave on for as long as possible. Some say 3 minutes, some say 3 hours, some say 3 years (just kidding). Just as long as you can (within reason).
Shop our favourite hair repair products

Thou Shalt Be Prepared To Call For Backup
Hurray! You’ve completed your home hair colour journey.
How did it feel? How did it turn out?
If the answers to either of the above questions are ‘kinda awkward’ and ‘not how I expected’, don’t stress.
This is exactly what your local colourist is for. We’ll never judge you for trying to take the plunge yourself (especially in 2020) and most respectable colourists might give you pointers on any maintenance products you can use to extend the life of your salon colour at home (to spread out your visits).
& if you need a hand — here are a few of our favourite top colourists in Sydney and where we live on the Central Coast to save the dye… I mean, day.
Central Coast:
Moxie & Muse
Our favourite. Specialising in a kinder approach to colour, using only natural organic hair colour. But don’t let ‘organic’ freak you out — the results here are exceptional and last as well (if not better) than a standard chemical colour.
Allure Hair Bar
Allure is as well-known for their edgy cool-girl aesthetic and are as well-known for their beautiful ocean-facing salon as they are for their perfect blondes.
Sydney:
RAW by Anthony Nader
Celebrities, influencers, Sydney’s jet-set, EVERYONE loves Anthony Nader. Largely because he’s so down-to-earth despite being one of Australia’s most in-demand hair stylists.
Edwards & Co
There seems to be an unspoken law in Sydney that if you want a perfect blonde then you have to see Jayde Edwards. He is THE guy the blonde addicts of Australia flock to for natural tones and highlights. Edwards also services Melbourne and Byron Bay.
